iOS Setup and Integration Using AppAuth - UIKit App
Step 1: Get the AppAuth iOS Sample
Download the code sample via the following command:
- git clone https://github.com/openid/AppAuth-iOS
From Xcode’s home screen, select File / Open and navigate to the AppAuth-iOS/Examples/Example-iOS_Swift-Carthage folder:
Step 2: Add the AppAuth Dependency
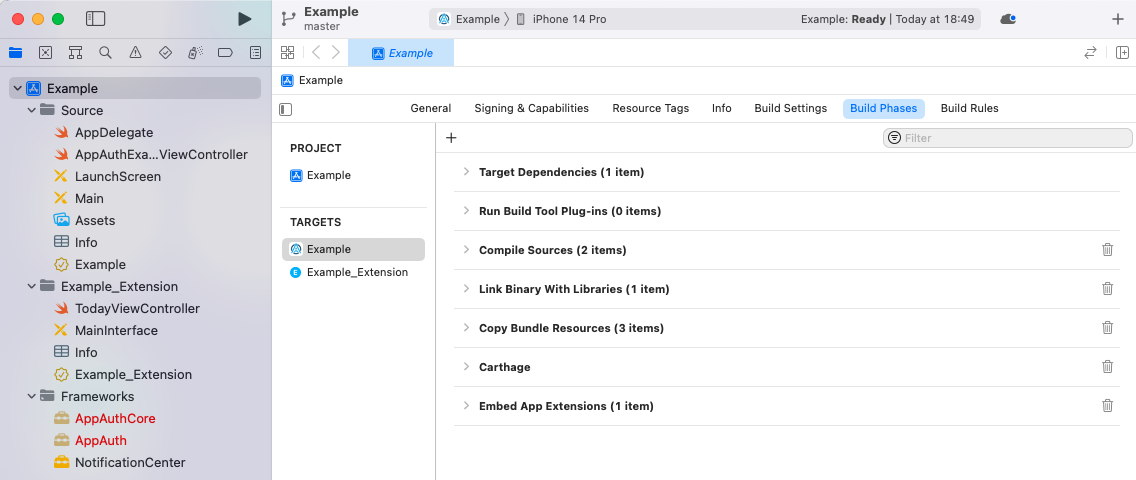
By default the code sample uses the Carthage dependency tool, which is problematic with more recent Xcode versions. You can fix it by cleaning-up and removing the following items:
- The Example_Extension folder
- The AppAuth entries under Frameworks
- The Carthage section under Build Phases
The project should then look like this:

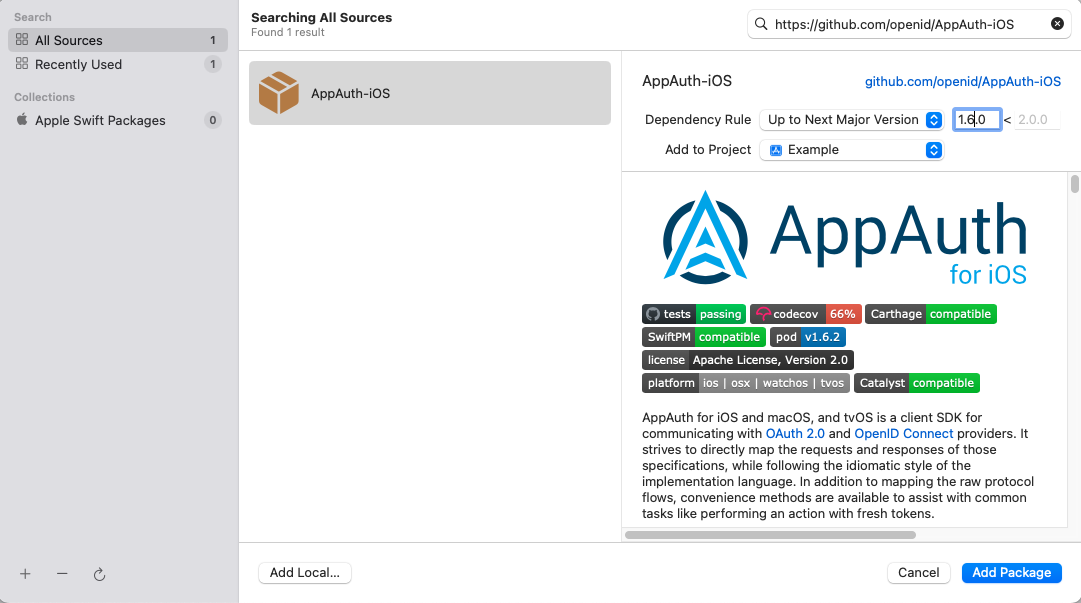
And then add AppAuth using the Swift dependency manager, from the above screen, by typing in the URL to the AppAuth repo. When prompted, please select the package product named AppAuth:
Step 3: Update OAuth Client Settings
Before running the app, we need to change the AppAuthExampleViewController.swift source file and edit the below settings to match those in the above table:
let kIssuer: String = "<YOUR_ISSUER>";
let kClientID: String? = "<YOUR_CLIENT_ID>";
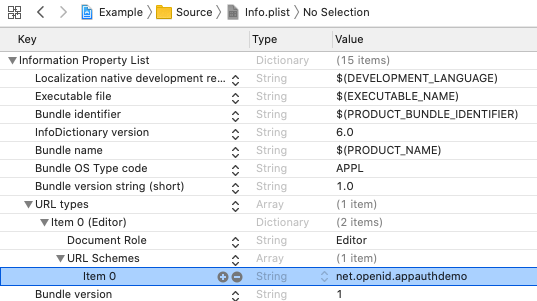
let kRedirectURI: String = "net.openid.appauthdemo:/oauth2redirect";
We will also need to register the Redirect URI Scheme in the mobile app’s Info.plist file:
Step 4: Run the Sample App on an Emulator / Device
To run the app on a device you must have an Apple account configured in Xcode under Preferences / Accounts. You also need to sign the app, such as by selecting the Automatically Manage Signing option in Xcode.
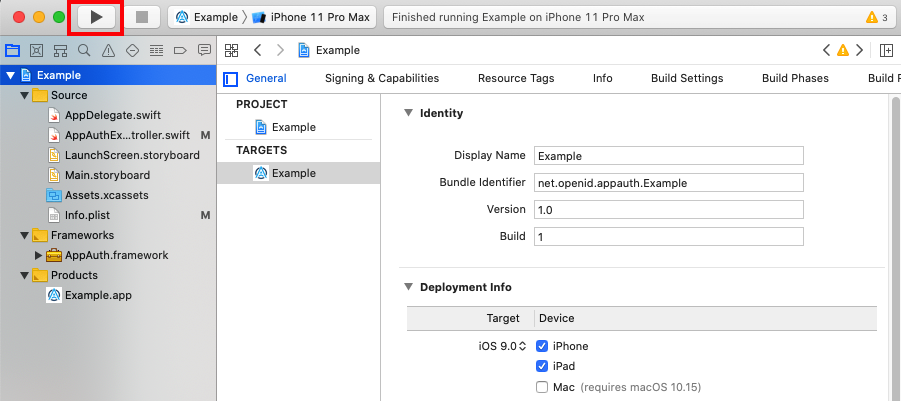
Ensure that the iOS device or emulator is selected in Xcode, then run the app using Xcode’s build and run option in the top left of the IDE.:
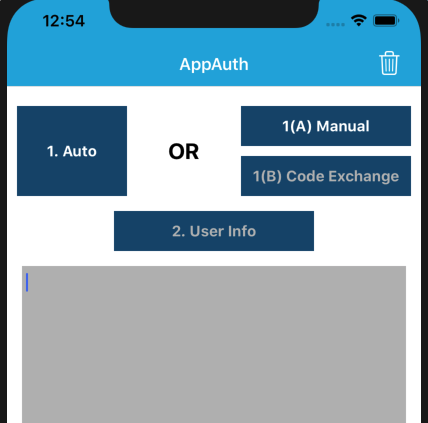
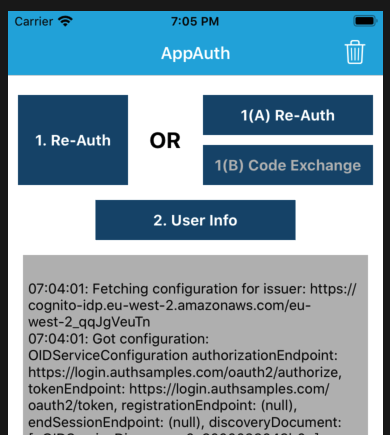
This renders the following simple view. You can click Auto to run an entire OpenID Connect authorization redirect. Alternatively, do it in two stages, by using Manual, where step 1(A) is the front channel redirect, and step 1(B) is the back channel operation to swap the authorization code for tokens:
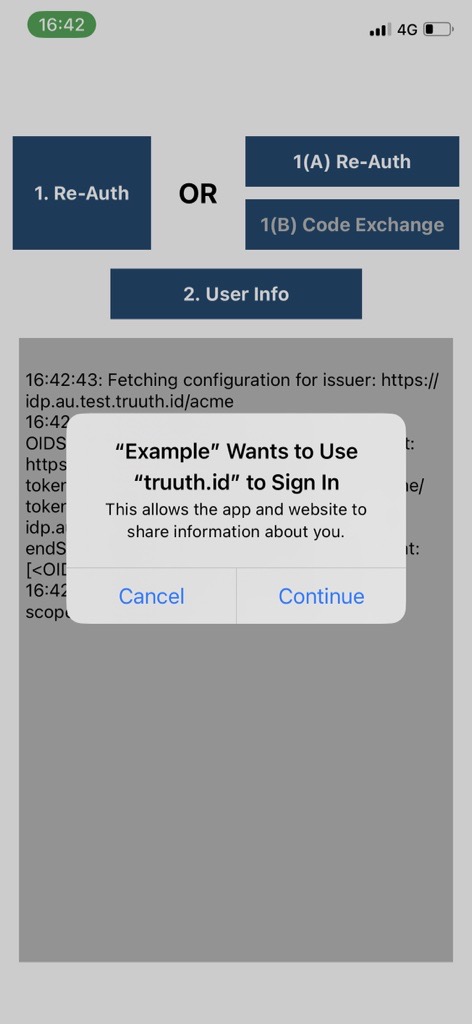
Next an ASWebAuthenticationSession window is shown, which first involves informing the user which app they are logging into:
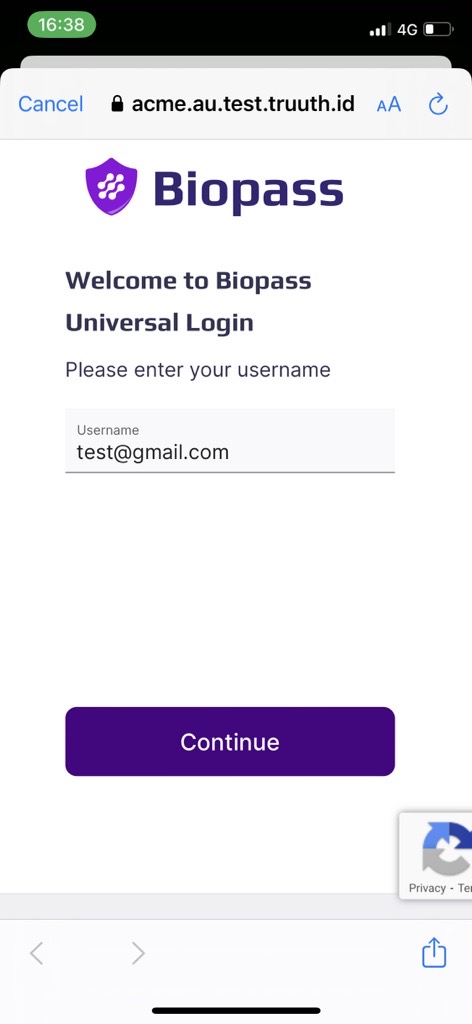
You can then sign in to the app using Biopass universal login.
The login is done using the system browser, which overlays the mobile view and prevents the sample app from having direct access to the credentials:
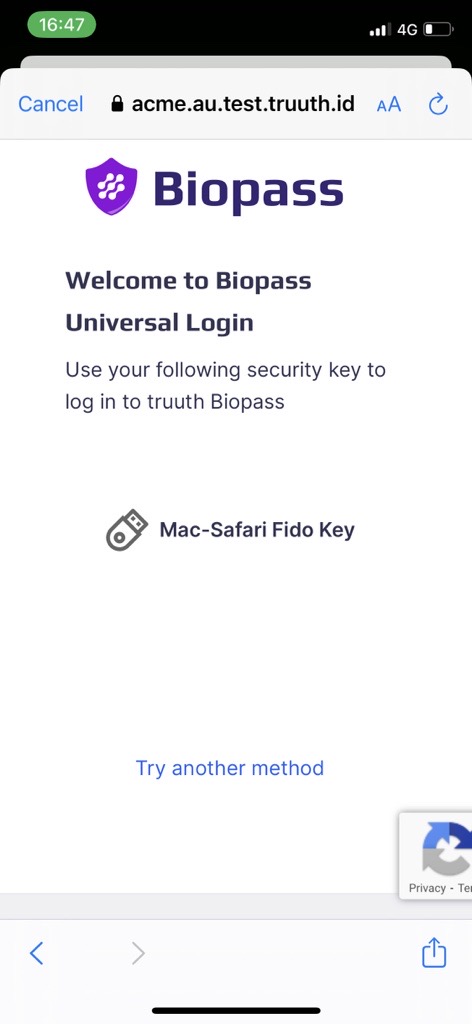
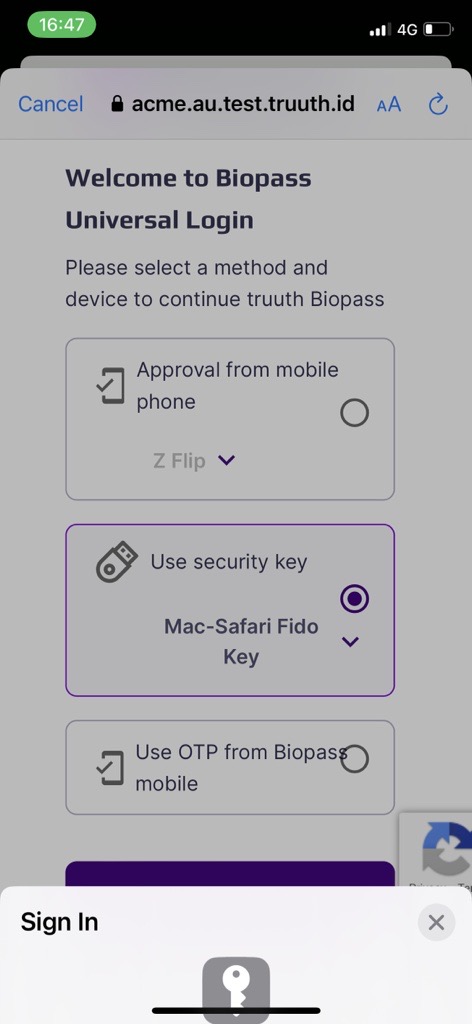
After login, control returns to the mobile app, which has an ID token, an access token and a refresh token. You can then test a couple of simple OAuth operations, including refreshing the access token:
Updated 9 months ago
