Applications Menu
On "Applications" menu, list of applications which are protected by Biopass are shown in cards. At first, when you arrive on this page, no application card is shown. To protect your applications you can use "+Add New Application" button and follow the steps here to create an application. Ultimarely when you add some applications, you will see a card for each application on this page. On each card, you can see name of application, its ID, type, and number of groups attached to it. Also, you can see the name of policy based on which your application is protected.
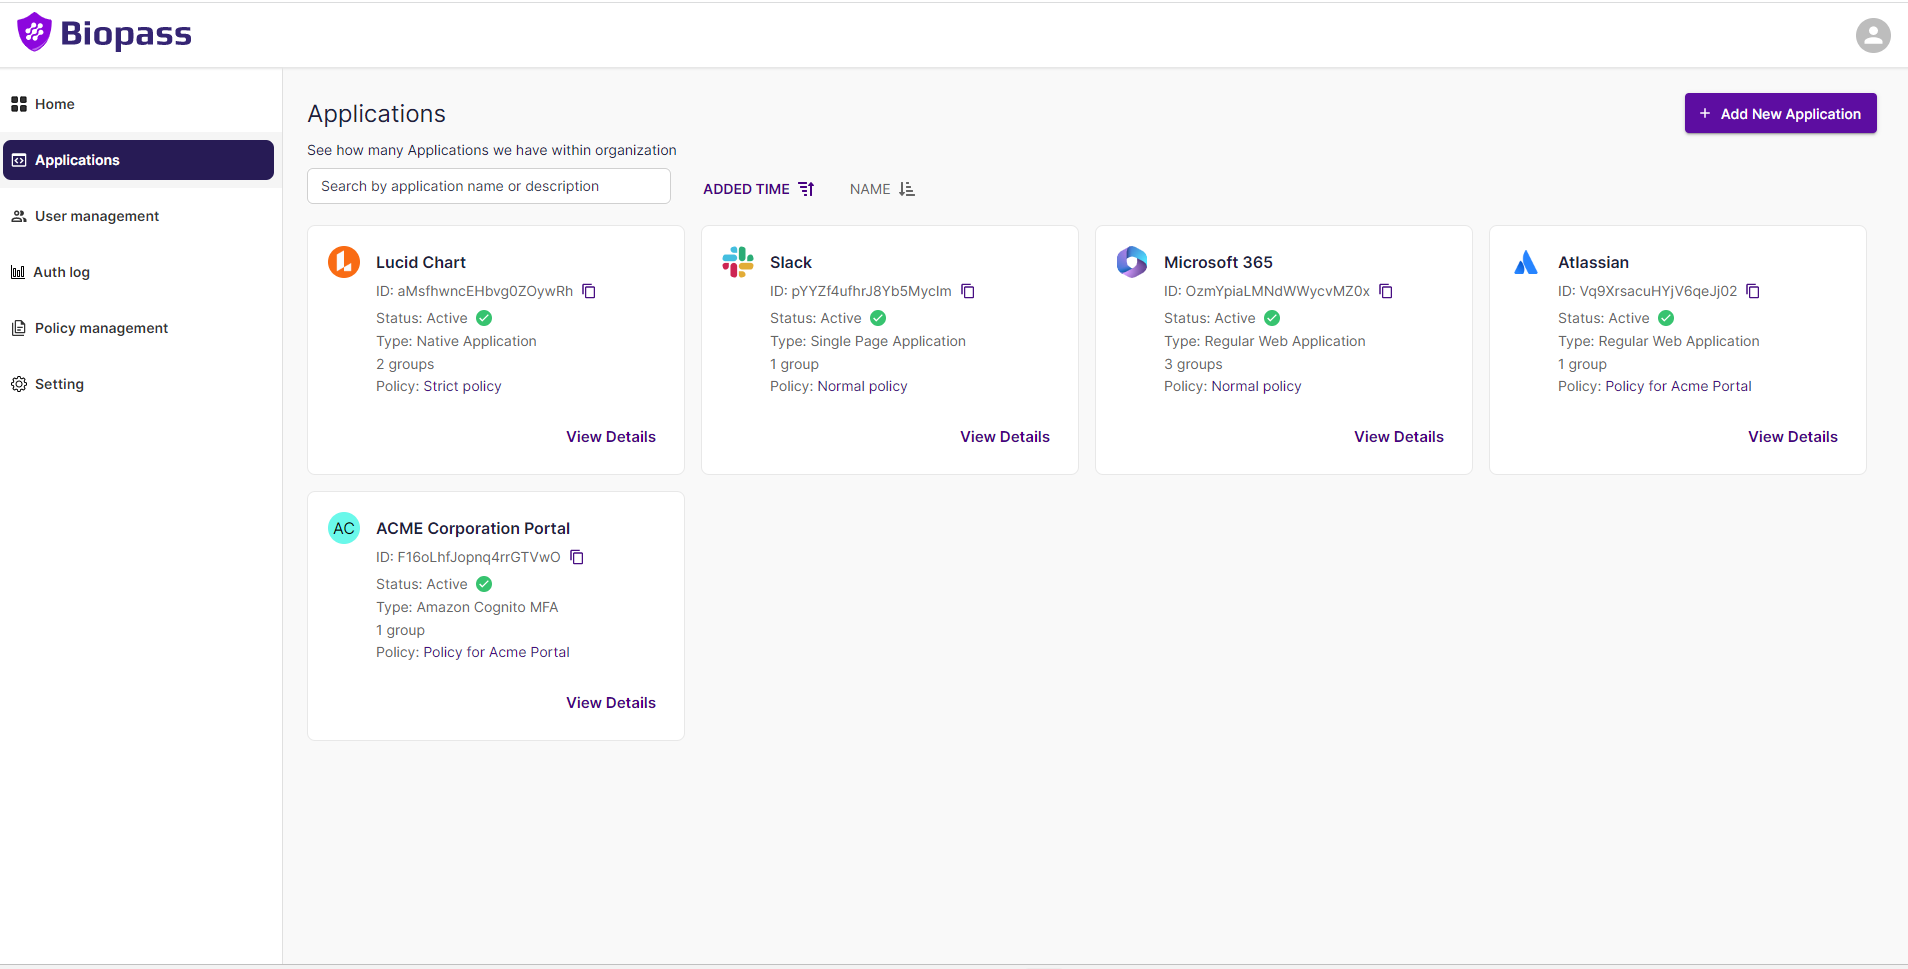
There are four types of applications you can protect with Biopass. For further information for each type, please refer to the corresponding page.
Although types of applications may be different, general commands, procedures and items are available for all types. On this page they are explained.
1- "Suspend" & "Delete" buttons on top right corner
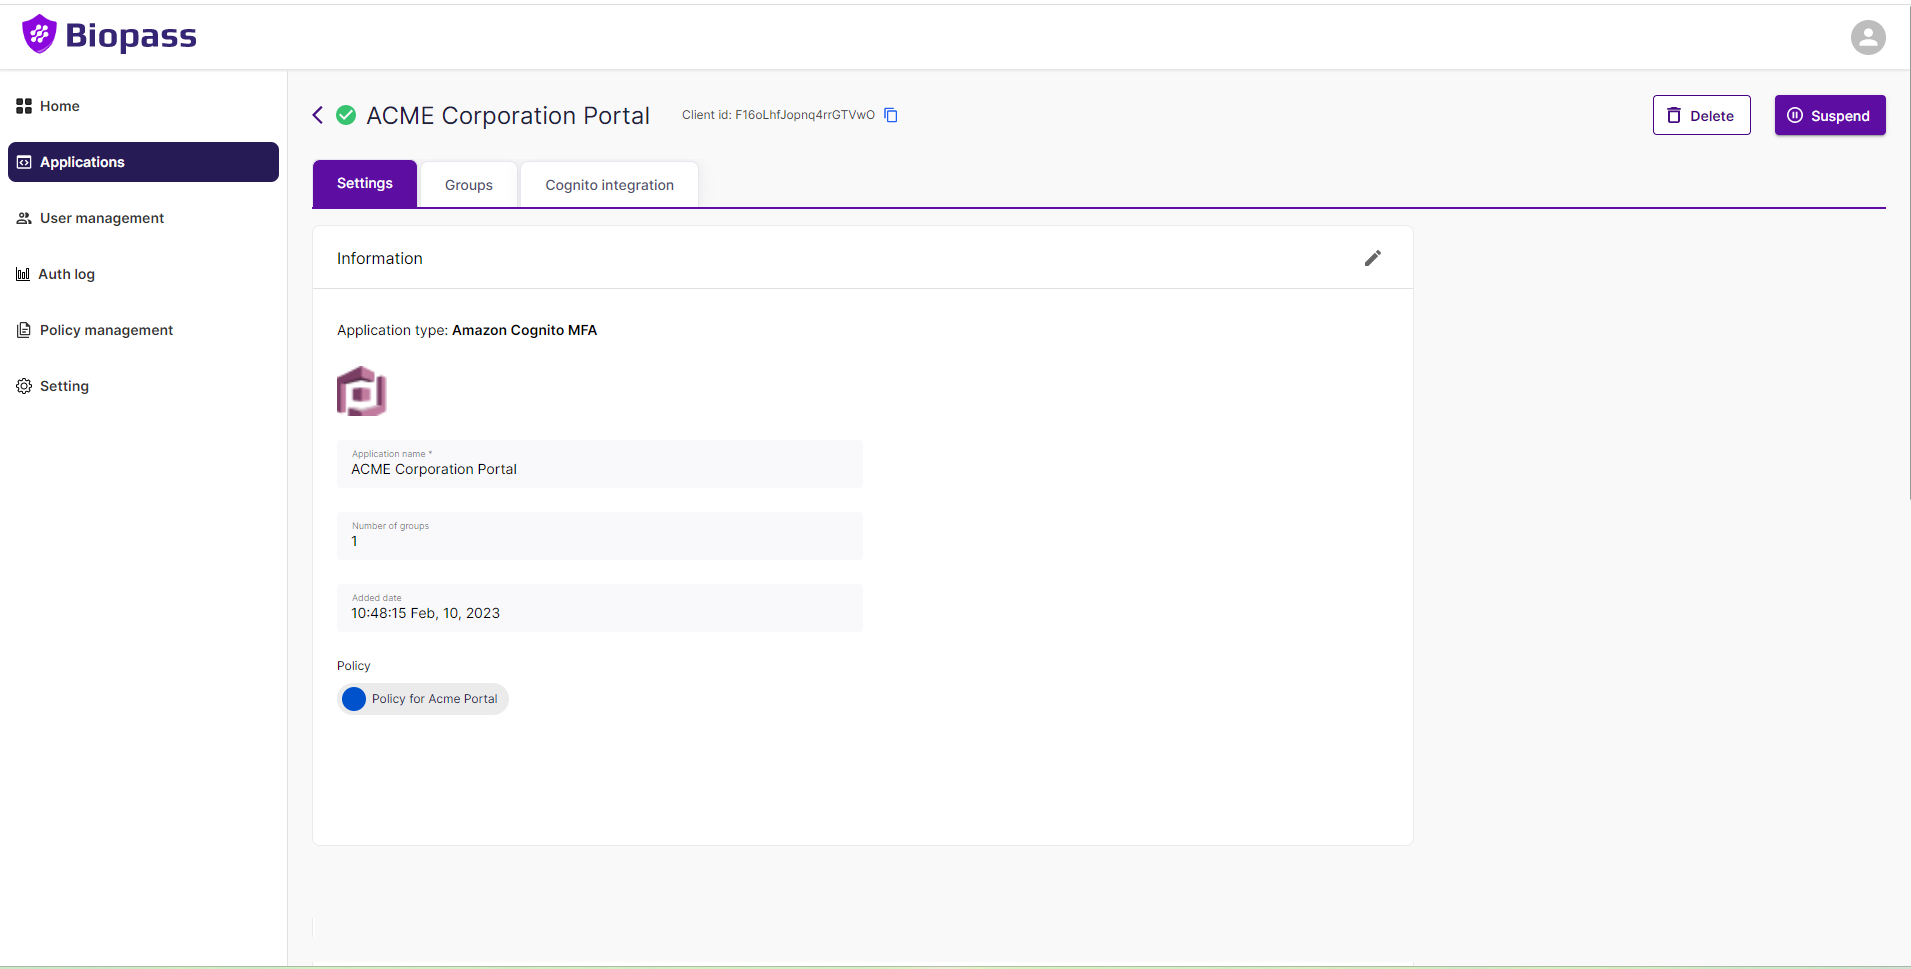
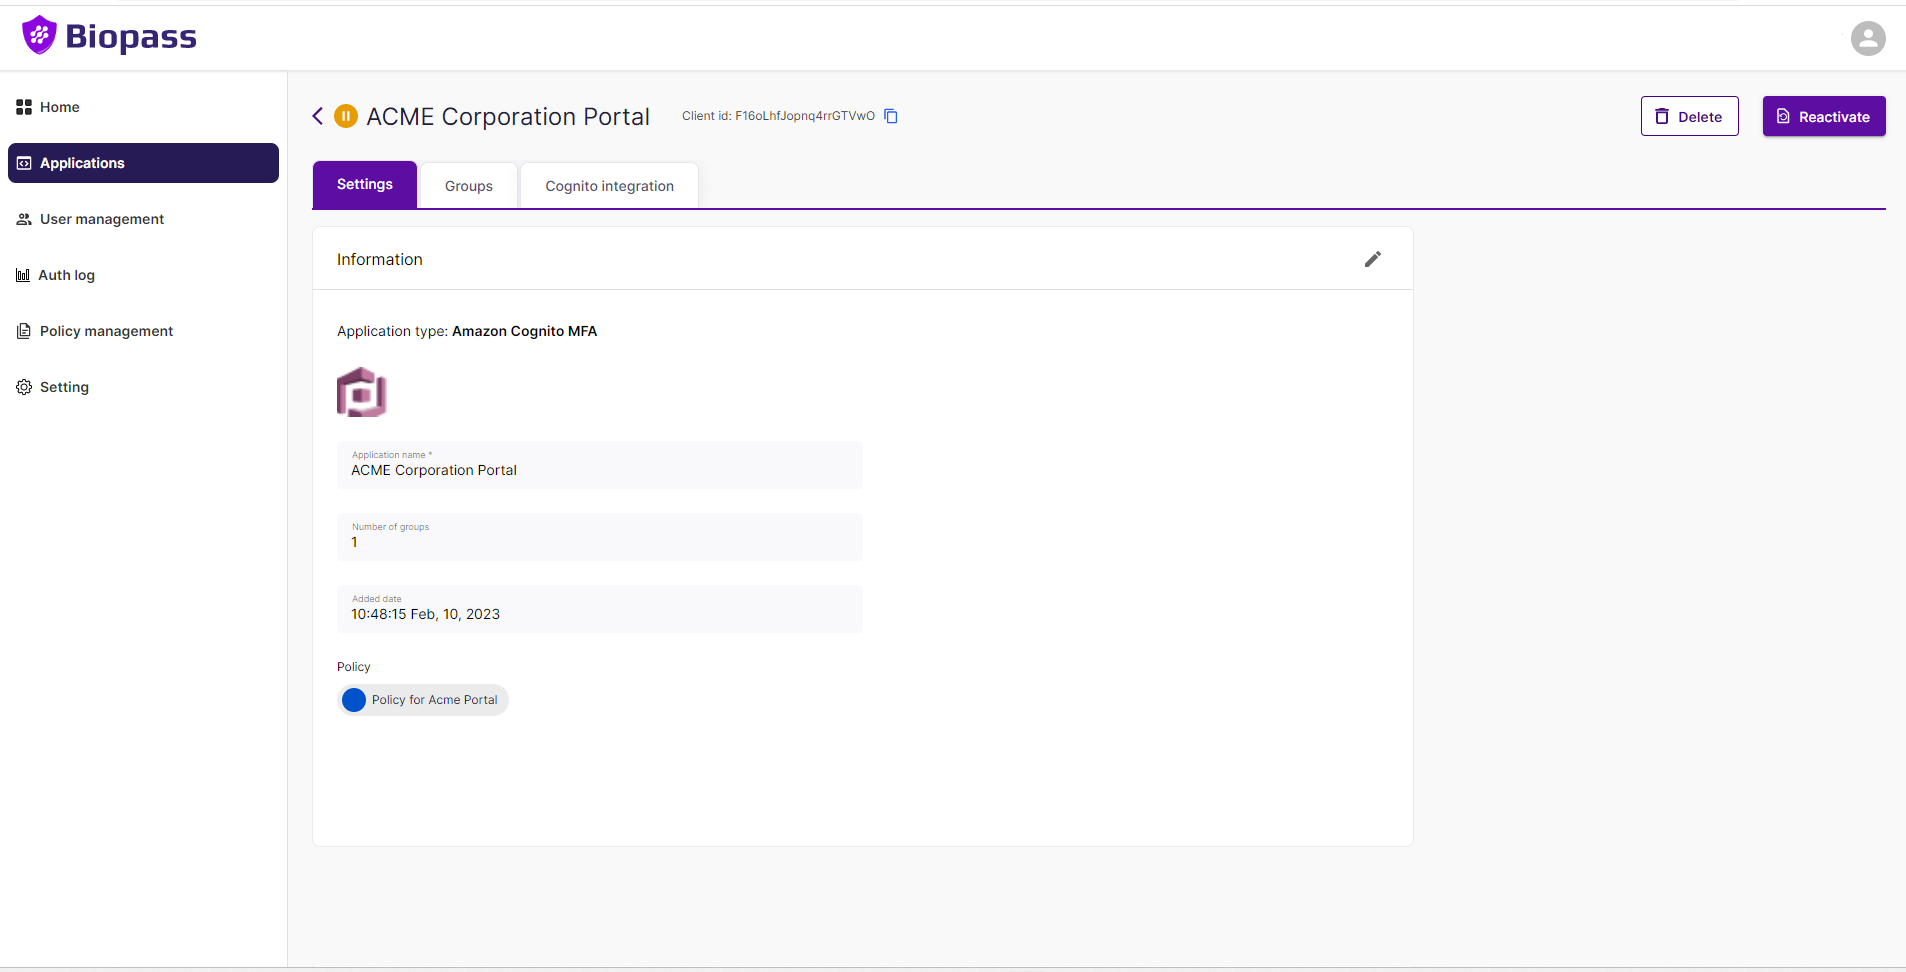
2- "Settings" tab
All applications have a "Settings" tab under which you can see the settings of the application. Here are differet setting boxes that may appear depending on the type of application.
2-1-General information box
On "General information" box you can view and edit name of the application, the policy that protects the application. This box exists for all types of applications .
2-2-Integration information box
On "Integration information" box, you can see the information required to link this application to an external application.
"Client ID"
This is the ID of this application in Biopass
"Issuer"
In OAuth, an "Issuer" refers to the entity that issues or generates a security token. Specifically, it is responsible for creating and signing the JSON Web Token (JWT) that contains the user's authorization information.The Issuer is identified by the "iss" claim within the JWT and is typically a web service or an application that has been authorized to authenticate the user and generate access tokens. The "iss" claim is used to ensure that the token has been issued by a trusted entity and to verify its authenticity.
The Issuer is a crucial part of the OAuth authorization process as it is responsible for ensuring that the user's credentials are valid and that the access token can be trusted. The OAuth client can use the Issuer information to verify the token's authenticity and grant access to protected resources.
"Client authentication" checkbox
Client authentication in OAuth is the process by which the client application (also known as the OAuth client) proves its identity to the authorization server before it is granted access to the protected resources on behalf of the resource owner.OAuth defines several methods for client authentication, including:
Client ID and Secret: The client provides its client ID and a secret to the authorization server, which is used to authenticate the client. This method is commonly used for web applications.
Public Key: The client presents its public key to the authorization server as proof of identity. This method is commonly used for mobile and desktop applications.
JSON Web Token (JWT): The client presents a JWT to the authorization server as proof of identity. This method is commonly used for APIs.
Client authentication is important for security reasons, as it ensures that only trusted clients are granted access to the protected resources. It also allows the authorization server to enforce access control policies and audit access to the resources.
"Client secret" field & "Rotate secret" button
As stated above, one of the secure methods of "Client authentication" is using Client ID and "Client secret". When "Client authentication" checkbox is ticked, "Client secret" field will appear. In case, you want to change the secret for security reasons, you can use "Rotate secret" button. Remember after changing the secret you should set it in the external application you want to connect Biopass to.
"Proof Key for Code Exchange (PKCE)" checkbox
Proof Key for Code Exchange (PKCE) is an extension to the OAuth 2.0 authorization framework that is used to prevent certain attacks, such as code injection attacks and authorization code interception attacks. PKCE is used specifically for OAuth 2.0 authorization flows that involve a client application that is not able to keep a client secret confidential, such as native or mobile applications.In the standard OAuth 2.0 authorization code flow, the client application exchanges an authorization code for an access token by presenting the authorization code to the authorization server. However, in the case of a mobile or native application, an attacker can potentially intercept the authorization code and use it to obtain an access token, which can then be used to access the protected resources on behalf of the user.
To prevent this, PKCE adds an additional step to the authorization code flow, where the client generates a random secret value (called the code verifier) and transforms it into a hash value (called the code challenge). The client sends the code challenge to the authorization server along with the initial authorization request. The authorization server will store the code challenge and issue an authorization code that is associated with the code challenge.
When the client exchanges the authorization code for an access token, it also sends the original code verifier to the authorization server. The authorization server will then verify that the code challenge associated with the authorization code matches the hash of the code verifier provided by the client. If the code challenge and code verifier match, the authorization server will issue the access token to the client.
This process ensures that only the client application that originally initiated the authorization request can exchange the authorization code for an access token, even if the authorization code is intercepted by an attacker.
2-3-Allowed Callback URL box
An "Allowed Callback URL" is a setting used in web applications that implement OAuth authentication, which allows users to grant third-party applications access to their accounts on a given service without providing their login credentials.
When a user grants access to a third-party application, the OAuth protocol will redirect the user to the application's "callback URL" after the user has authenticated with the service. The "Allowed Callback URL" setting specifies which URLs the service should accept as valid callback URLs for a given application.
This setting is important for security reasons, as it helps to prevent unauthorized access to user accounts. By limiting the allowed callback URLs to only those that belong to trusted applications, the service can ensure that users are only granting access to their accounts to legitimate and trusted third-party applications.
In short, the "Allowed Callback URL" is a configuration option that helps ensure that the OAuth authentication process is secure and that users can trust the third-party applications they grant access to.
2-4-Sign-out URLs (Optional)
In OAuth, a sign-out URL is a URL that is used to log a user out of an application or service that they have authenticated with using OAuth. When a user logs into an application using OAuth, they grant the application access to their account on the service provider's platform.
When a user logs out of the application, the access token that was generated during the OAuth authentication process must be revoked so that the application can no longer access the user's account. This is where the sign-out URL comes in - it is the URL that the user is directed to when they log out of the application, and it is responsible for revoking the access token.
The sign-out URL can be a URL provided by the service provider, or it can be a custom URL created by the application developer. When a user logs out, the application makes a request to the sign-out URL to revoke the access token. Once the access token is revoked, the user is logged out and the application can no longer access their account.
It's worth noting that not all service providers require the use of a sign-out URL, and some may handle access token revocation in a different way. However, for applications that use OAuth and require access to sensitive user data, using a sign-out URL is a good practice to ensure that user data is protected.
2-5-Initiate login URI (Optional)
In OAuth, an Initiate Login URI (also known as the authorization endpoint) is the URL where a user is redirected to initiate the OAuth flow for a particular application or service. The initiate login URI is the first step in the OAuth authorization process and is where the user is prompted to grant permission to the application to access their account on the service provider's platform.
When a user clicks the "Login with [Service Provider]" button on an OAuth-enabled application, the application will redirect the user's browser to the initiate login URI for that particular service provider. Once the user reaches the initiate login URI, they will be prompted to enter their login credentials for the service provider. After the user has successfully authenticated, they will be presented with a consent screen that explains what permissions the application is requesting and gives the user the option to grant or deny access to their account.
If the user grants access, the service provider will generate an authorization code, which the application can exchange for an access token that allows it to access the user's account. This exchange typically happens at the token endpoint, which is a different URI from the initiate login URI.
Overall, the initiate login URI is a critical part of the OAuth flow, as it's where the user's authentication and authorization are initiated. Without the initiate login URI, the OAuth flow could not be initiated, and the application would not be able to access the user's account on the service provider's platform.
2-6-Grant type
In OAuth, a grant type is a type of authorization flow that is used to obtain an access token from the authorization server. The grant type defines how the application requests authorization from the resource owner (the user) and how the authorization server issues the access token to the application.
There are several grant types in OAuth, each with its own characteristics and use cases. Here are some of the most common grant types:
Authorization Code Grant: This is the most commonly used grant type in OAuth. It involves the user being redirected to the authorization server's login page, where they enter their credentials. If the user is authorized, the authorization server returns an authorization code to the application, which is then exchanged for an access token.
Implicit Grant: This grant type is similar to the Authorization Code Grant, but it skips the step where the application exchanges the authorization code for an access token. Instead, the access token is included in the initial authorization response.
Resource Owner Password Credentials Grant: This grant type allows the application to directly authenticate the user's credentials with the authorization server, and then receive an access token in response.
Client Credentials Grant: This grant type is used when the application needs to access its own resources, rather than the resources of a user. The application authenticates with the authorization server using its own credentials, and then receives an access token.
Refresh Token Grant: This grant type is used to obtain a new access token when the current access token has expired. The application sends a request to the authorization server using the refresh token, and if the refresh token is still valid, the authorization server issues a new access token.
Overall, the grant type is a key part of the OAuth flow and determines how the application obtains authorization to access the user's resources on the resource server. It's important for application developers to understand the different grant types and choose the appropriate one for their use case.
2-7-Scope
In OAuth, scope is a parameter that is used to define the level of access that a client application has to a user's resources. The scope parameter is included in the authorization request sent by the client application to the authorization server.
The scope parameter is a space-separated list of strings that defines the permissions that the client application is requesting. For example, a client application might request permission to read a user's email, view their profile information, or post on their behalf.
The authorization server is responsible for determining whether to grant the requested scope based on the user's consent and the server's policies. If the authorization server grants the requested scope, it returns an access token to the client application, which the client can use to access the user's resources that are covered by the granted scope.
Scopes help to limit the access of client applications to user resources and prevent unauthorized access. They also give users more control over their data by allowing them to choose which permissions to grant to a client application.
2-8-Expiration times
ID Token expiration duration
The ID token in OpenID Connect (OIDC) has a relatively short expiry time compared to other tokens like access tokens. The actual expiration time of the ID token is defined by the OIDC provider (identity provider) and can vary depending on the provider's configuration.
The OIDC specification recommends that ID tokens should have a maximum expiration time of 1 hour (3,600 seconds). This short lifespan helps enhance security since the ID token contains sensitive user information, and limiting its validity reduces the window of opportunity for potential attackers to abuse the token.
What is ID Token?When a user successfully authenticates with an OIDC provider (e.g., an identity provider like Biopass, Google, Microsoft, or Okta), the provider issues an ID token to the external application. This token contains specific claims about the user, such as their unique identifier, name, email address, and other profile information, depending on the scopes requested during authentication.
Access Token expiration duration
Access Token expiration duration determine the duration of time in seconds for which the token is considered valid. After this duration elapses, the token is no longer considered valid and must be refreshed or obtained again.
The common practice is to issue access tokens with a relatively short lifespan to enhance security. It's typical to see access tokens with an expiration duration of anywhere from a few minutes to a few hours. An expiration time of one hour (3,600 seconds) is often recommended as it strikes a balance between security and usability.
Short-lived access tokens limit the time window for potential attackers to misuse a stolen or intercepted token. Moreover, OIDC providers often offer token refresh mechanisms that allow client applications to obtain new access tokens without requiring the user to reauthenticate, thus maintaining a seamless user experience.
What is Access Token?In OpenID Connect (OIDC), an access token is another type of JSON Web Token (JWT) that is used to access protected resources on behalf of an authenticated user. Unlike the ID token, which primarily contains information about the user's identity and is meant for verifying the user's identity during an OIDC session, the access token is used to access APIs and resources hosted on resource servers.
Using access tokens allows client applications to interact with APIs securely and without having to repeatedly prompt the user for their credentials during a session. It follows the principles of OAuth 2.0, where the access token represents the user's delegated authority to access protected resources, while the ID token represents the user's identity information for authentication purposes.
Refresh Token expiration duration
Refresh tokens typically have a longer expiration time compared to access tokens. Since refresh tokens are used to obtain new access tokens without requiring the user to reauthenticate, they need to be valid for a more extended period to maintain a smooth user experience.
The duration of refresh token validity is a trade-off between security and usability. A longer-lived refresh token increases the risk of potential misuse if stolen, while a very short-lived token could lead to a less seamless user experience if users are frequently prompted to reauthenticate.
What is Refresh Token?A refresh token is a type of token used in the context of OAuth 2.0 and OpenID Connect (OIDC) to obtain new access tokens without requiring the user to reauthenticate. It provides a means for client applications to maintain access to protected resources even after the original access token has expired.
Here's how a refresh token works:
1- Initial Authentication: When a user authenticates with an OIDC provider (identity provider) and grants -1- permission to a client application, the provider issues both an access token and a refresh token to the client.
2- Access Token Usage: The client application uses the access token to access protected resources on behalf of the user. Access tokens are short-lived and have a limited validity period, typically ranging from a few minutes to a few hours.
3- Token Expiry: When the access token expires, the client would need to request a new one to continue accessing protected resources. Instead of requiring the user to reauthenticate, the client can use the refresh token to obtain a new access token.
4- Obtaining a New Access Token: The client includes the refresh token in a token refresh request to the OIDC provider's token endpoint. The provider verifies the refresh token's validity and, if valid, issues a new access token. The refresh token itself may remain the same or be replaced with a new one (depending on the provider's policy).
5- Continuous Access: The client can now use the new access token to access protected resources on behalf of the user, and the user is not prompted to re-enter their credentials during this process.
3- "Groups" tab
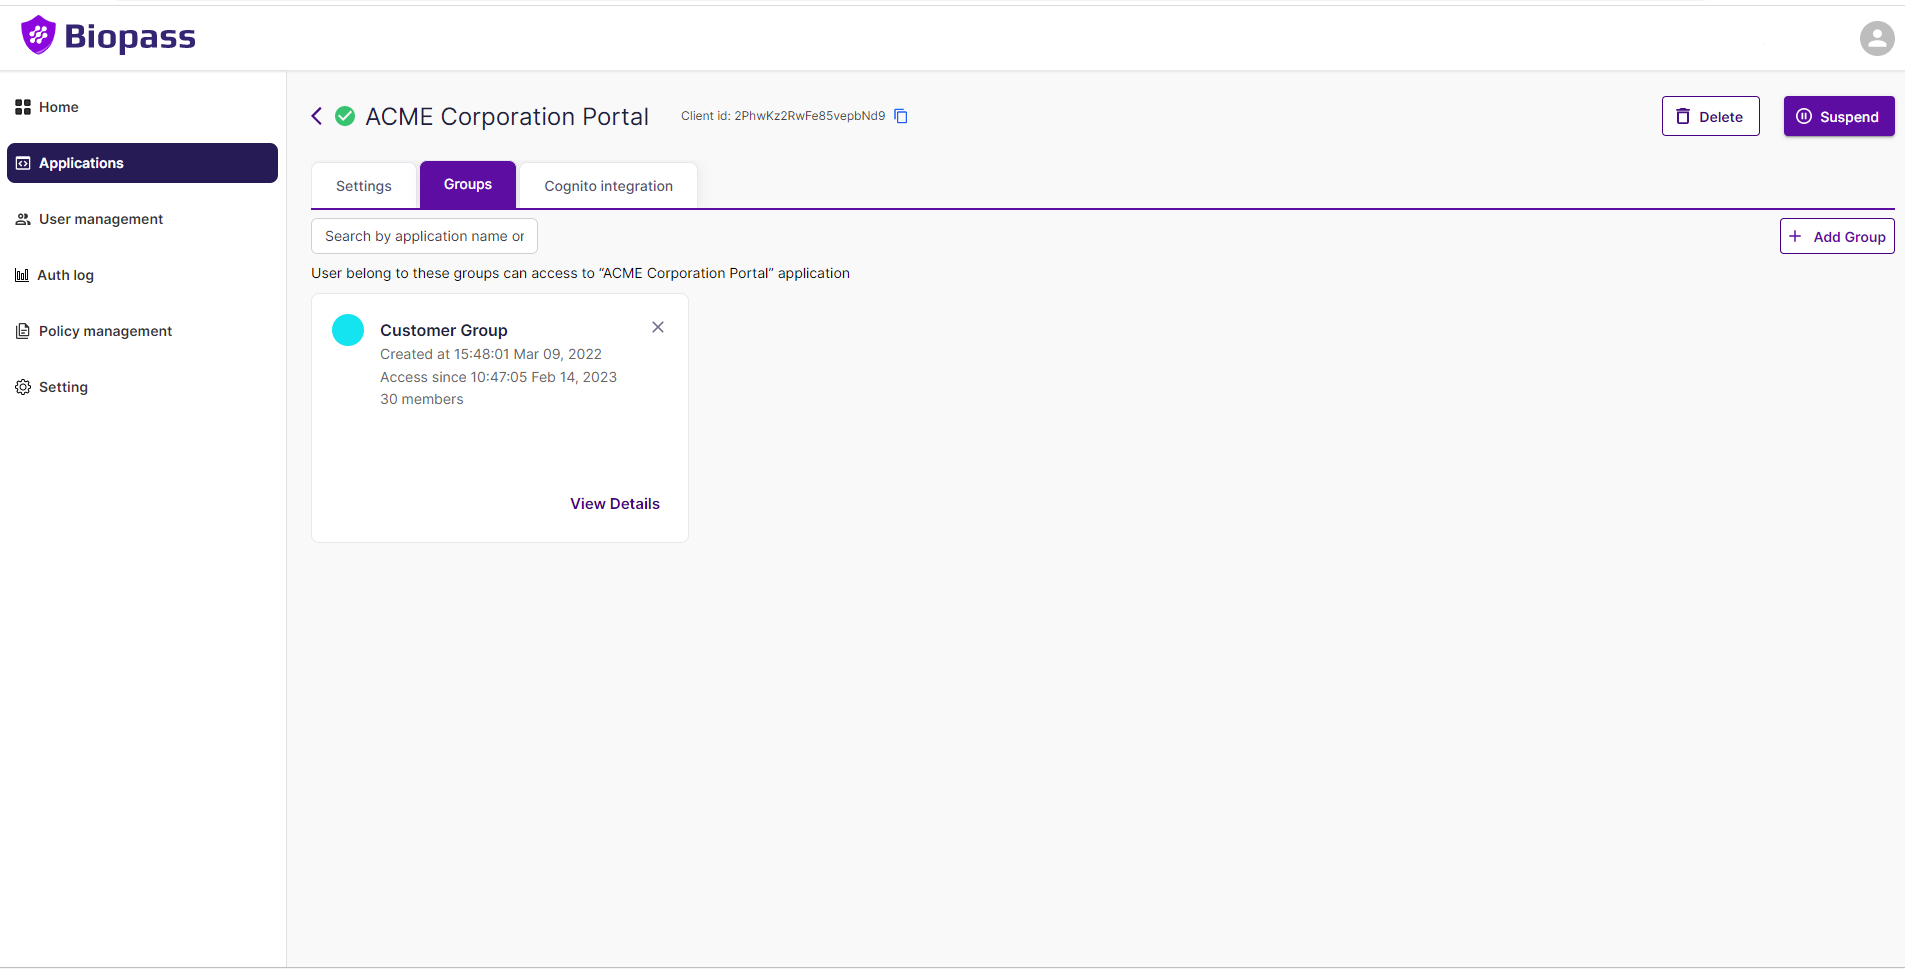
All applications have "Groups" tab. Under this tab, you can see the groups whose users can access this application in cards. On each card, some information such as number of users in the group, the date they are added to access the application exists. To add a group to your application, use "+ Add group" button. A search bar appears that show groups in admin panel which are not added to the application. If you click on any of them, the group is added, and users in the group can authenticate and log in to the application. To remove the group, click on the "x' on the top right corner of the card.
Updated 8 months ago


